
I’ve always been someone who likes to be prepared. Not in an overly dramatic, end-of-the-world sense, but more in a pragmatic way – knowing I can handle most of what life throws my way. This mindset naturally extended to food, leading me down the path of understanding essential prepper food storage. It’s not about fear; it’s about resilience, self-sufficiency, and ensuring my loved ones and I have what we need, no matter what disruptions might arise. Over the years, I’ve learned a great deal, sometimes through trial and error, sometimes through diligent research, and I’m ready to share what I consider to be the most crucial, up-to-date advice on building a robust, long-term food supply.
Building Your Foundational Food Supply
When I first started thinking about food storage, the sheer volume of information was overwhelming. What should I buy? How much? Where do I put it all? The best advice I ever received, and what I now impart to others, is to prioritize shelf-stable basics you already eat. This might seem obvious, but it’s a game-changer. There’s no point in stocking up on exotic MREs or freeze-dried meals if you’ve never tasted them, don’t know how to prepare them, or worse, discover you dislike them. My focus became rice, beans, canned goods (vegetables, fruits, meats), pasta, and oats. These are items I consume regularly, so I already know how to cook them, how they fit into my diet, and, critically, how to rotate them seamlessly. This approach not only makes the initial stocking process less daunting but also ensures that my stored food isn’t just “emergency food” but rather an extension of my everyday pantry.
Starting Small and Scaling Up
My journey began with a very modest goal: aim for at least two weeks of food at home. This felt achievable. I started by ensuring I had a several days’ supply of non-perishables, just enough to get through a short-term power outage or a severe storm. From there, I gradually built up my reserves. Each time I went grocery shopping, I would add a few extra items – an extra bag of rice, an additional can of beans, a few more boxes of pasta. This slow, steady accumulation prevented me from feeling overwhelmed financially or logistically. It’s a marathon, not a sprint. This incremental approach also allowed me to learn what worked best for my family’s consumption patterns and storage space before I committed to larger quantities. It’s a process of continuous refinement.
Avoiding Hoarding and Focusing on Versatility
One pitfall I quickly identified, and actively advise against, is avoiding hoarding random foods. In the early days, I admit I sometimes got caught up in impulse buys, thinking “more is better.” However, this often led to clutter, waste, and a pantry filled with items I didn’t truly need or wouldn’t realistically eat. Instead, my strategy evolved to focus on a tight list of versatile staples with long shelf lives. For instance, rice isn’t just rice; it can be a side dish, the base of a stew, or a porridge. Beans can be a protein source, a thickener, or a soup ingredient. This versatility is key. It means I can create a wide variety of meals from a relatively small number of core ingredients, which is essential when planning for long-term survival scenarios where culinary creativity might be limited by resources.
Incorporating Ready-to-Eat Options
While staples form the backbone of my storage, I’ve learned the importance of including ready-to-eat, low-prep items. In a true emergency, especially if power is out or fuel is scarce, the last thing I want is to be reliant on cooking everything from scratch. So, my reserves include things like canned meals (stews, chili), crackers, energy bars, and nut butters. These items are invaluable because they can be consumed cold, directly from their packaging, requiring no heat, water, or special preparation. They provide immediate calories and comfort during stressful times. I ensure these are easily accessible and are also part of my rotation, making sure they don’t expire before they’re needed or consumed during routine activities like camping trips.
For those interested in enhancing their prepper food storage strategies, a valuable resource can be found in the article on snow survival techniques. This piece not only discusses the importance of food storage but also provides insights on how to manage supplies during winter months when access to fresh resources may be limited. To read more about effective snow survival methods and their relation to food storage, check out the article here: Snow Survival Techniques.
Optimal Storage Conditions for Longevity
Once I had my food selections sorted, the next crucial step was understanding how to store them properly. I quickly learned that even the most shelf-stable food can spoil quickly if not kept under the right conditions. This became a non-negotiable aspect of my prepping strategy.
The Importance of a Controlled Environment
My golden rule for food storage is simple: store food in a cool, dry, dark place. This means keeping it away from heat sources like ovens, water heaters, or direct sunlight. I also avoid storing food on outside walls, as these can experience greater temperature fluctuations. Furthermore, it’s vital to keep food separate from fuel, chemicals, and other non-food items that could contaminate it or attract pests. These precautions dramatically extend the shelf life of my provisions. For instance, rice and beans, properly stored, can last for decades. Canned goods, while robust, also benefit greatly from consistent, moderate temperatures. I’ve dedicated a specific closet in my home for food storage, ensuring it meets these criteria as closely as possible.
Using Airtight Containers
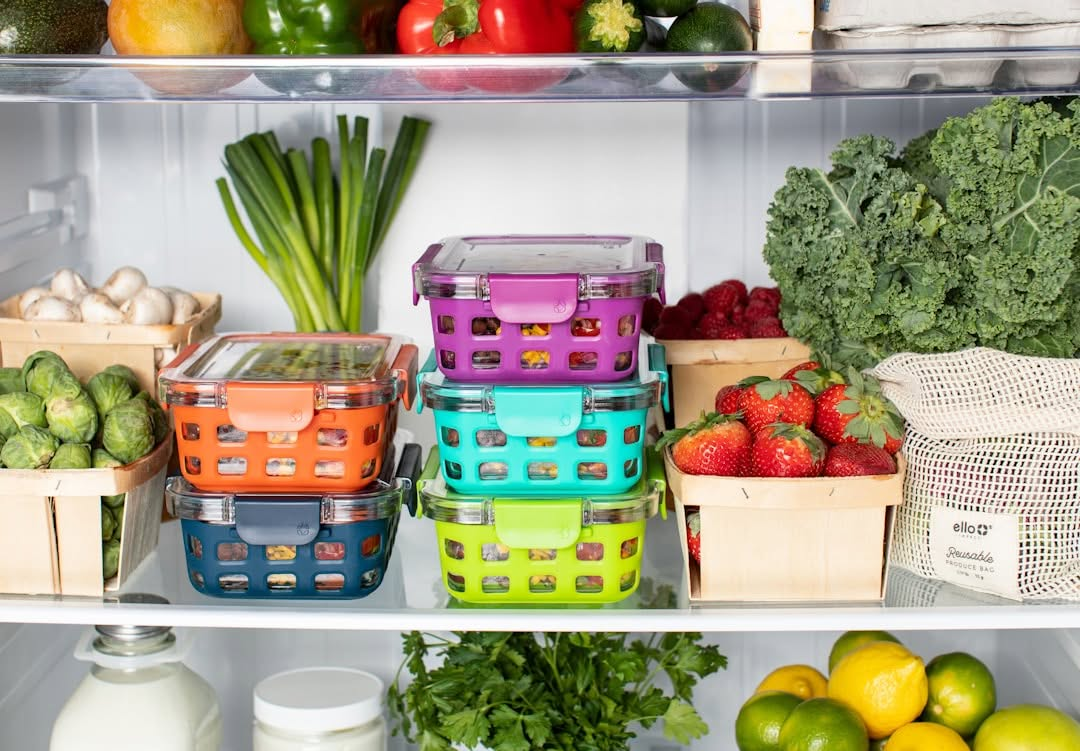
Beyond the environment, the containers themselves are paramount. I make sure to use airtight containers for almost everything. This means sealed plastic or metal bins, glass jars, Mylar bags with oxygen absorbers, and food-grade buckets. The purpose of these containers is multifaceted:
- Protection from moisture: Moisture is the enemy of dry goods, leading to spoilage, mold, and bacterial growth. Airtight seals prevent this.
- Protection from oxygen: Oxygen degrades many foods over time, especially fats, leading to rancidity. Oxygen absorbers, particularly with Mylar bags for long-term storage of items like grains and legumes, are incredibly effective.
- Protection from pests: Insects and rodents can quickly destroy a food supply. Robust, sealed containers are the first line of defense.
- Protection from physical damage: Cans can dent, and bags can tear. Sturdy containers add an extra layer of protection.
For bulk items like rice and beans, I often use Mylar bags sealed inside food-grade 5-gallon buckets with gamma seals. This combination offers excellent long-term protection. For items with shorter shelf lives or those I access more frequently, sturdy plastic bins with airtight lids work well.
Dividing Bulk Foods
Another practical tip I’ve integrated into my storage system is to divide bulk foods into smaller portions. For example, when I buy a large bag of flour or a 25-pound sack of rice, I don’t just store it all in one giant container. Instead, I portion it out into smaller Mylar bags or sealed containers. There are two primary reasons for this:
- Mitigation of risk: If one container somehow becomes compromised by moisture or pests, the entire supply isn’t ruined. Only that smaller portion is affected.
- Ease of access and rotation: It’s much simpler to grab a 5-pound bag of rice for daily use or to rotate than it is to maneuver a huge, heavy container. This also helps in keeping the main bulk storage sealed and untouched until truly needed, preserving its long-term integrity.
Inventory Management and Rotation
Having a well-stocked pantry is only half the battle; knowing what you have and ensuring it stays fresh is equally important. This is where diligent inventory management and rotation come into play.
The FIFO Principle and Labeling
One of the most fundamental rules I adhere to is label and date everything, and follow FIFO (first in, first out). This means every single item I add to my storage gets a clear label indicating what it is and the date I purchased or processed it. When stocking, new items go to the back, and older items are moved to the front. This simple system ensures that I consistently eat the oldest stock first and replace it with fresh supplies. It’s a continuous cycle that prevents food from expiring and going to waste. I use a permanent marker for dating cans and packages, and sometimes even color-coded dots to indicate different years of purchase, making visual identification quicker.
Scheduled Pantry Checkups
To maintain the integrity of my food supply, I conduct scheduled “pantry checkups” – at least yearly, but ideally every six months. During these checkups, I thoroughly inspect everything:
- Damage: I look for any signs of physical damage to containers, such as dents in cans (especially along seams), tears in bags, or cracks in plastic.
- Pests: I check for any signs of insect activity, such as droppings, chewed packaging, or actual insects.
- Moisture: Any sign of dampness or mold is a red flag.
- Swelling/Dented Cans: Swelling or severely dented cans are immediate discards, as they can indicate dangerous bacterial growth.
If I find items that are nearing their best-by dates or show minor signs of wear but are still safe, I move them to a highly visible “use soon” basket in my active pantry. This ensures they get consumed promptly, minimizing waste and keeping my long-term storage truly long-term.
Maintaining an Inventory List
I also keep an inventory on or near the pantry door. This might sound like a lot of work, but it saves me immense time and prevents duplication. My inventory list details what I have, estimated quantities, and notes any items that are low or nearing their best-by dates. When I go shopping, I simply glance at the list to see what needs replenishing. This also helps me plan meals around what I already have, further promoting rotation and preventing “out of sight, out of mind” waste. I use a simple spreadsheet, but even a notebook can work wonders. The key is consistency in updating it.
Beyond Food: Water and Safety Protocols
My preparedness planning doesn’t stop at food. I’ve learned that water is just as, if not more, critical for survival. And knowing how to handle food safely during emergencies is paramount.
Planning for Water Alongside Food
It’s a stark reality that you can survive longer without food than without water. Therefore, I always emphasize that you must plan for water alongside food. My minimum guideline is at least one gallon per person per day for drinking and basic sanitation. This isn’t just for a few days; I aim for a supply that mirrors or even exceeds my food supply duration.
- Food-grade containers: I use only food-grade containers for water storage, typically large blue water barrels or smaller jugs specifically designed for potable water.
- Rotation: While water doesn’t “expire” in the same way food does, I still rotate my stored water every six to twelve months to ensure freshness and to check the integrity of the containers.
- Purification methods: Beyond stored water, I also have several water purification methods on hand, including filters (such as Sawyer mini or Berkey systems) and chemical purifiers (like bleach or purification tablets). This provides redundancy and peace of mind should my stored water supply run low or become compromised.
Food Safety During Power Outages
One of the most common disruptions I anticipate is a power outage. Knowing how to handle food safely during these times is crucial to prevent illness. I follow modern safety guidance meticulously:
- Keep fridge/freezer doors closed: This is the golden rule. An unopened refrigerator can keep food safe for about 4 hours. A full freezer can maintain its temperature for approximately 48 hours (24 hours if half-full). Every time the door is opened, cold air escapes, drastically reducing these times.
- Don’t trust perishable food left outside: While it might seem intuitive to put perishables outside in cold weather, external temperatures can fluctuate, and animals might access the food. It’s safer to rely on internal fridge/freezer retention or discard food once temperatures rise.
- Temperature checks: After a power outage, I always check the temperature inside my fridge and freezer. If the refrigerator temperature has risen above 40°F (4°C) for more than two hours, or if frozen food still contains ice crystals, it’s generally safe. If not, it’s best to discard perishable items. This often means I have to make tough decisions, but foodborne illness is a risk I refuse to take.
When considering effective prepper food storage strategies, it’s essential to explore various methods for self-sufficiency, including indoor gardening. A great resource for beginners is an article that delves into how to grow your own food effortlessly, which can complement your food storage plans. You can read more about this in the article on indoor survival gardening, which provides valuable insights for anyone looking to enhance their food security. For more information, check out the article here.
Leveraging Reliable Guidance and Continuous Learning
| Food Type | Storage Life | Storage Conditions | Calories per Serving | Recommended Quantity (per person per month) |
|---|---|---|---|---|
| White Rice | 25-30 years | Cool, dry, airtight container | 205 (per 1/4 cup uncooked) | 20 lbs |
| Dried Beans | 10+ years | Cool, dry, airtight container | 240 (per 1/4 cup uncooked) | 15 lbs |
| Powdered Milk | 2-10 years | Cool, dry, airtight container | 80 (per 1/4 cup powder) | 5 lbs |
| Freeze-Dried Vegetables | 20-25 years | Cool, dry, airtight container | Varies (approx. 25-50) | 5 lbs |
| Canned Meat | 3-5 years | Cool, dry place | 150-200 (per 3 oz) | 10 cans |
| Honey | Indefinite | Sealed container, room temperature | 64 (per tablespoon) | 2 lbs |
| Salt | Indefinite | Dry, airtight container | 0 | 1 lb |
Finally, I’ve found that the best approach to prepper food storage is to stay informed and constantly refine my strategies based on credible sources and evolving understanding.
Consulting Government and Relief Agency Guidelines
I never try to reinvent the wheel when it comes to basic preparedness. Instead, I make it a point to use government and relief agency guidelines as my baseline advice. Organizations like Ready.gov, FEMA, and the Red Cross offer incredibly valuable, science-backed information that is easy to understand and implement. Their recommendations often cover:
- Types of non-perishable foods: They provide lists of reliable staples.
- Essential tools: A manual can opener is always at the top of their lists, and for good reason!
- Yearly checks and safe canned-food practices: They reinforce the importance of regular inspection and safe handling of stored goods.
These resources provide a solid, no-nonsense foundation upon which I build my more personalized prepper plan. They help cut through the noise and focus on what truly matters for basic survival and comfort. I often revisit these sites to ensure my practices are aligned with the latest recommendations.
Continuous Education and Adaption
The world is constantly changing, and so too should my preparedness strategies. I make an effort to stay updated on food preservation techniques, new storage products, and emerging risks. This means reading reputable articles, participating in preparedness forums (with a critical eye), and even experimenting with small-scale preservation methods like dehydrating fruits or vegetables. Every year, after my “pantry checkup,” I also perform a “plan checkup.” I review what worked, what didn’t, and what adjustments I need to make to my food storage plan based on my family’s changing needs, new products on the market, or any new information I’ve learned. This commitment to continuous learning and adaptation ensures that my food storage system remains robust, relevant, and ready for whatever the future may hold.
FAQs
What is prepper food storage?
Prepper food storage refers to the practice of stockpiling food and other essential supplies in anticipation of emergencies, natural disasters, or societal disruptions. This approach ensures that individuals and families have enough food to sustain themselves during times when access to fresh supplies may be limited.
What types of food are best for prepper storage?
The best types of food for prepper storage include non-perishable items such as canned goods, dried beans, rice, pasta, freeze-dried meals, and dehydrated fruits and vegetables. Additionally, foods with a long shelf life, like honey, sugar, and salt, are also recommended for long-term storage.
How should prepper food be stored?
Prepper food should be stored in a cool, dry, and dark place to maximize shelf life. It is important to use airtight containers or vacuum-sealed bags to protect food from moisture and pests. Labeling containers with the purchase date and expiration date can help in managing inventory effectively.
How long can prepper food be stored?
The shelf life of prepper food varies depending on the type of food and storage conditions. Generally, canned goods can last 2 to 5 years, while dried foods like rice and beans can last 25 years or more if stored properly. Freeze-dried meals typically have a shelf life of 25 to 30 years.
Is it necessary to rotate prepper food supplies?
Yes, it is essential to rotate prepper food supplies to ensure that older items are used before they expire. This practice, known as “first in, first out” (FIFO), helps maintain a fresh stock of food and reduces waste. Regularly checking and updating your food storage can help keep your supplies viable.